Tutorials
/ Other Technologies
/ Custom Snap-In implementation
Custom Snap-In implementation
In This Topic
Overview
Snap-Ins are very powerful interface elements that can be used for various purposes. DocuVieware™ comes with several handy built-in snap-ins such as the Thumbnails, Bookmarks, Text Search or Annotations palette.
This tutorial shows how to create a very simple Custom Snap-In with a button that will trigger a Custom Action server-side to return a message.
You are going to implement a Custom Snap-In that will contain a simple button which action will be to send a "ping" command to the server and it will reply with a "pong" message.
DocuVieware™ requires .NET Framework 4.6 or above.
Preparing the Custom Snap-In content
Step 1 : Add a method that will build the content of the Custom Snap-In and add it to a given DocuVieware™ instance. Simply add this method in your DocuViewareRESTController.cs class, like this:
Step 2 : Add a call to this newly created method between your control creation and rendering so your custom Snap-In is added to the DocuVieware™ object markup in the response.
Step 3 : Add the JavaScript function called on the snap-in button click event that will trigger the custom action, like this:
Handling your action server side
As seen in the Client/Server coming and going with Custom Actions tutorial, you are going to implement a simple custom action that will process the snap-in button click event.
All you need to do now is add the proper custom action event handler routing in your dispatcher in the Global.asax.cs file like this:
Compile and start the REST service, the custom Snap-In icon will appear in the left panel when loaded from your client page.
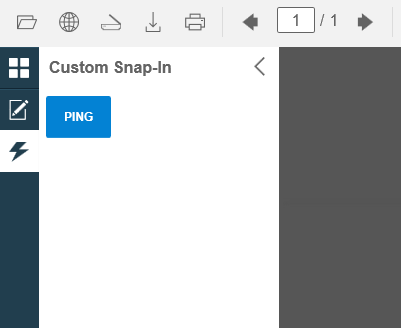
Now, if you select it and click on the ping button, it will trigger the custom action and you will see a "Pong" message coming back from the server.
See Also